基于Git的Obsidian笔记同步教程
Android推荐通过OneDrive进行同步,IOS推荐用iCloud进行同步。
Windows
安装Git
Git下载链接:https://git-scm.com/download/win
下载完后安装,所有安装选项选择默认值。创建并初始化Git仓库。
创建Git仓库
首先创建Git仓库,用于保存笔记文件。可以选择Github或Gitee,连接Github经常不稳定,所以这里选择用的是Gitee,建议仓库类型为私有。
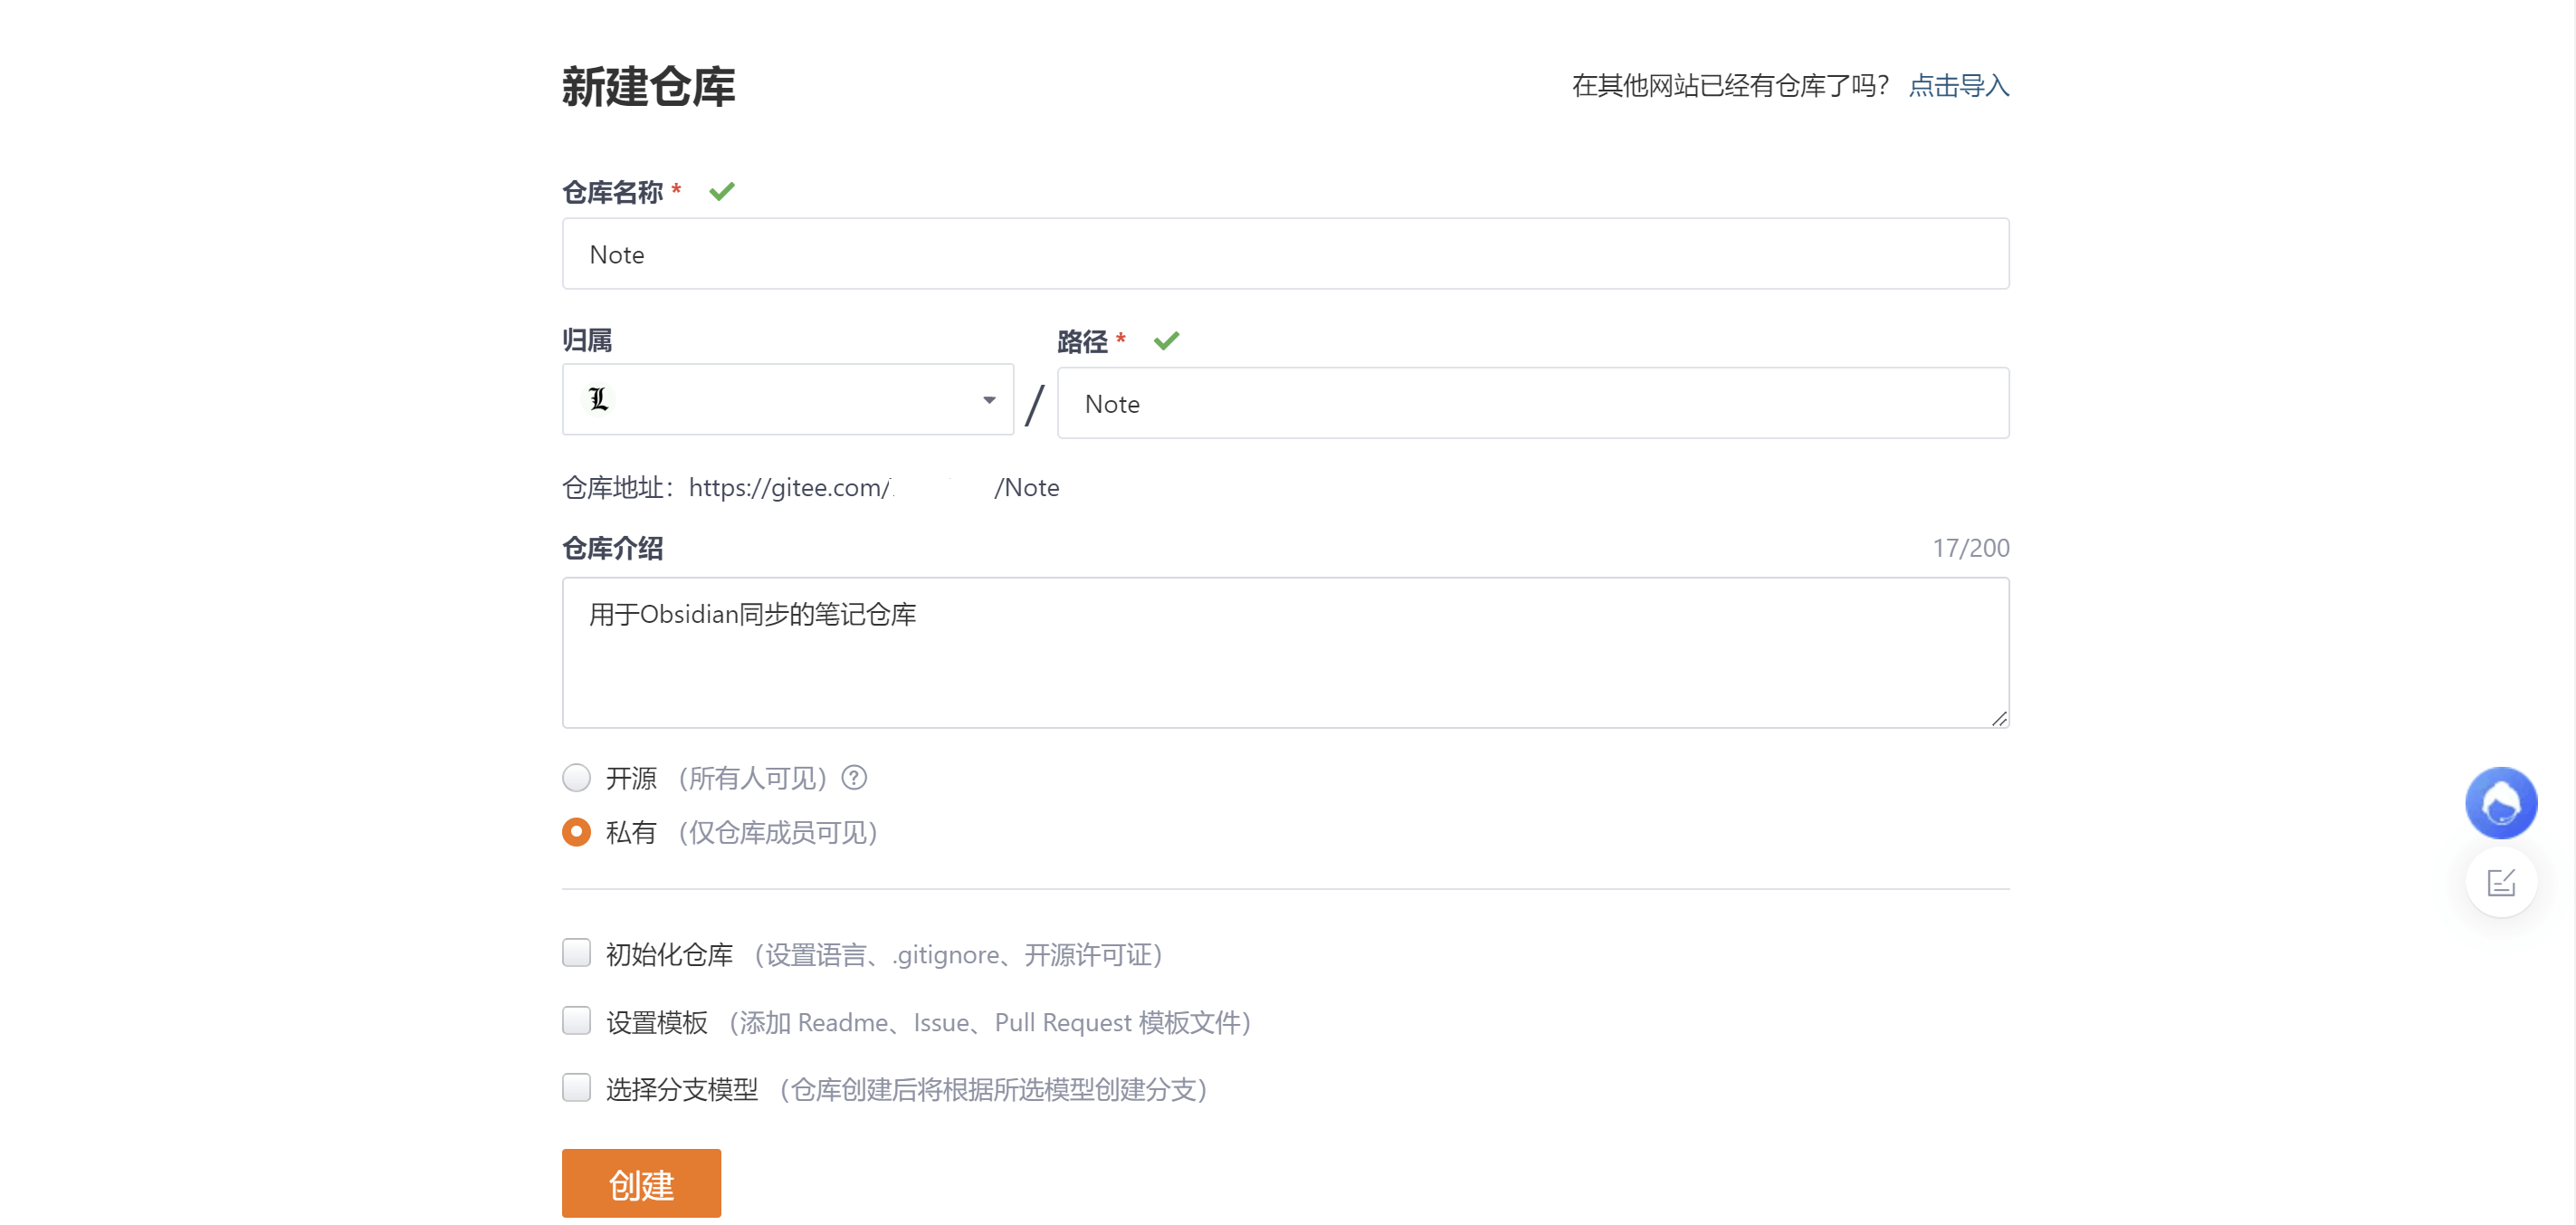
初始化仓库
点击初始化readme文件
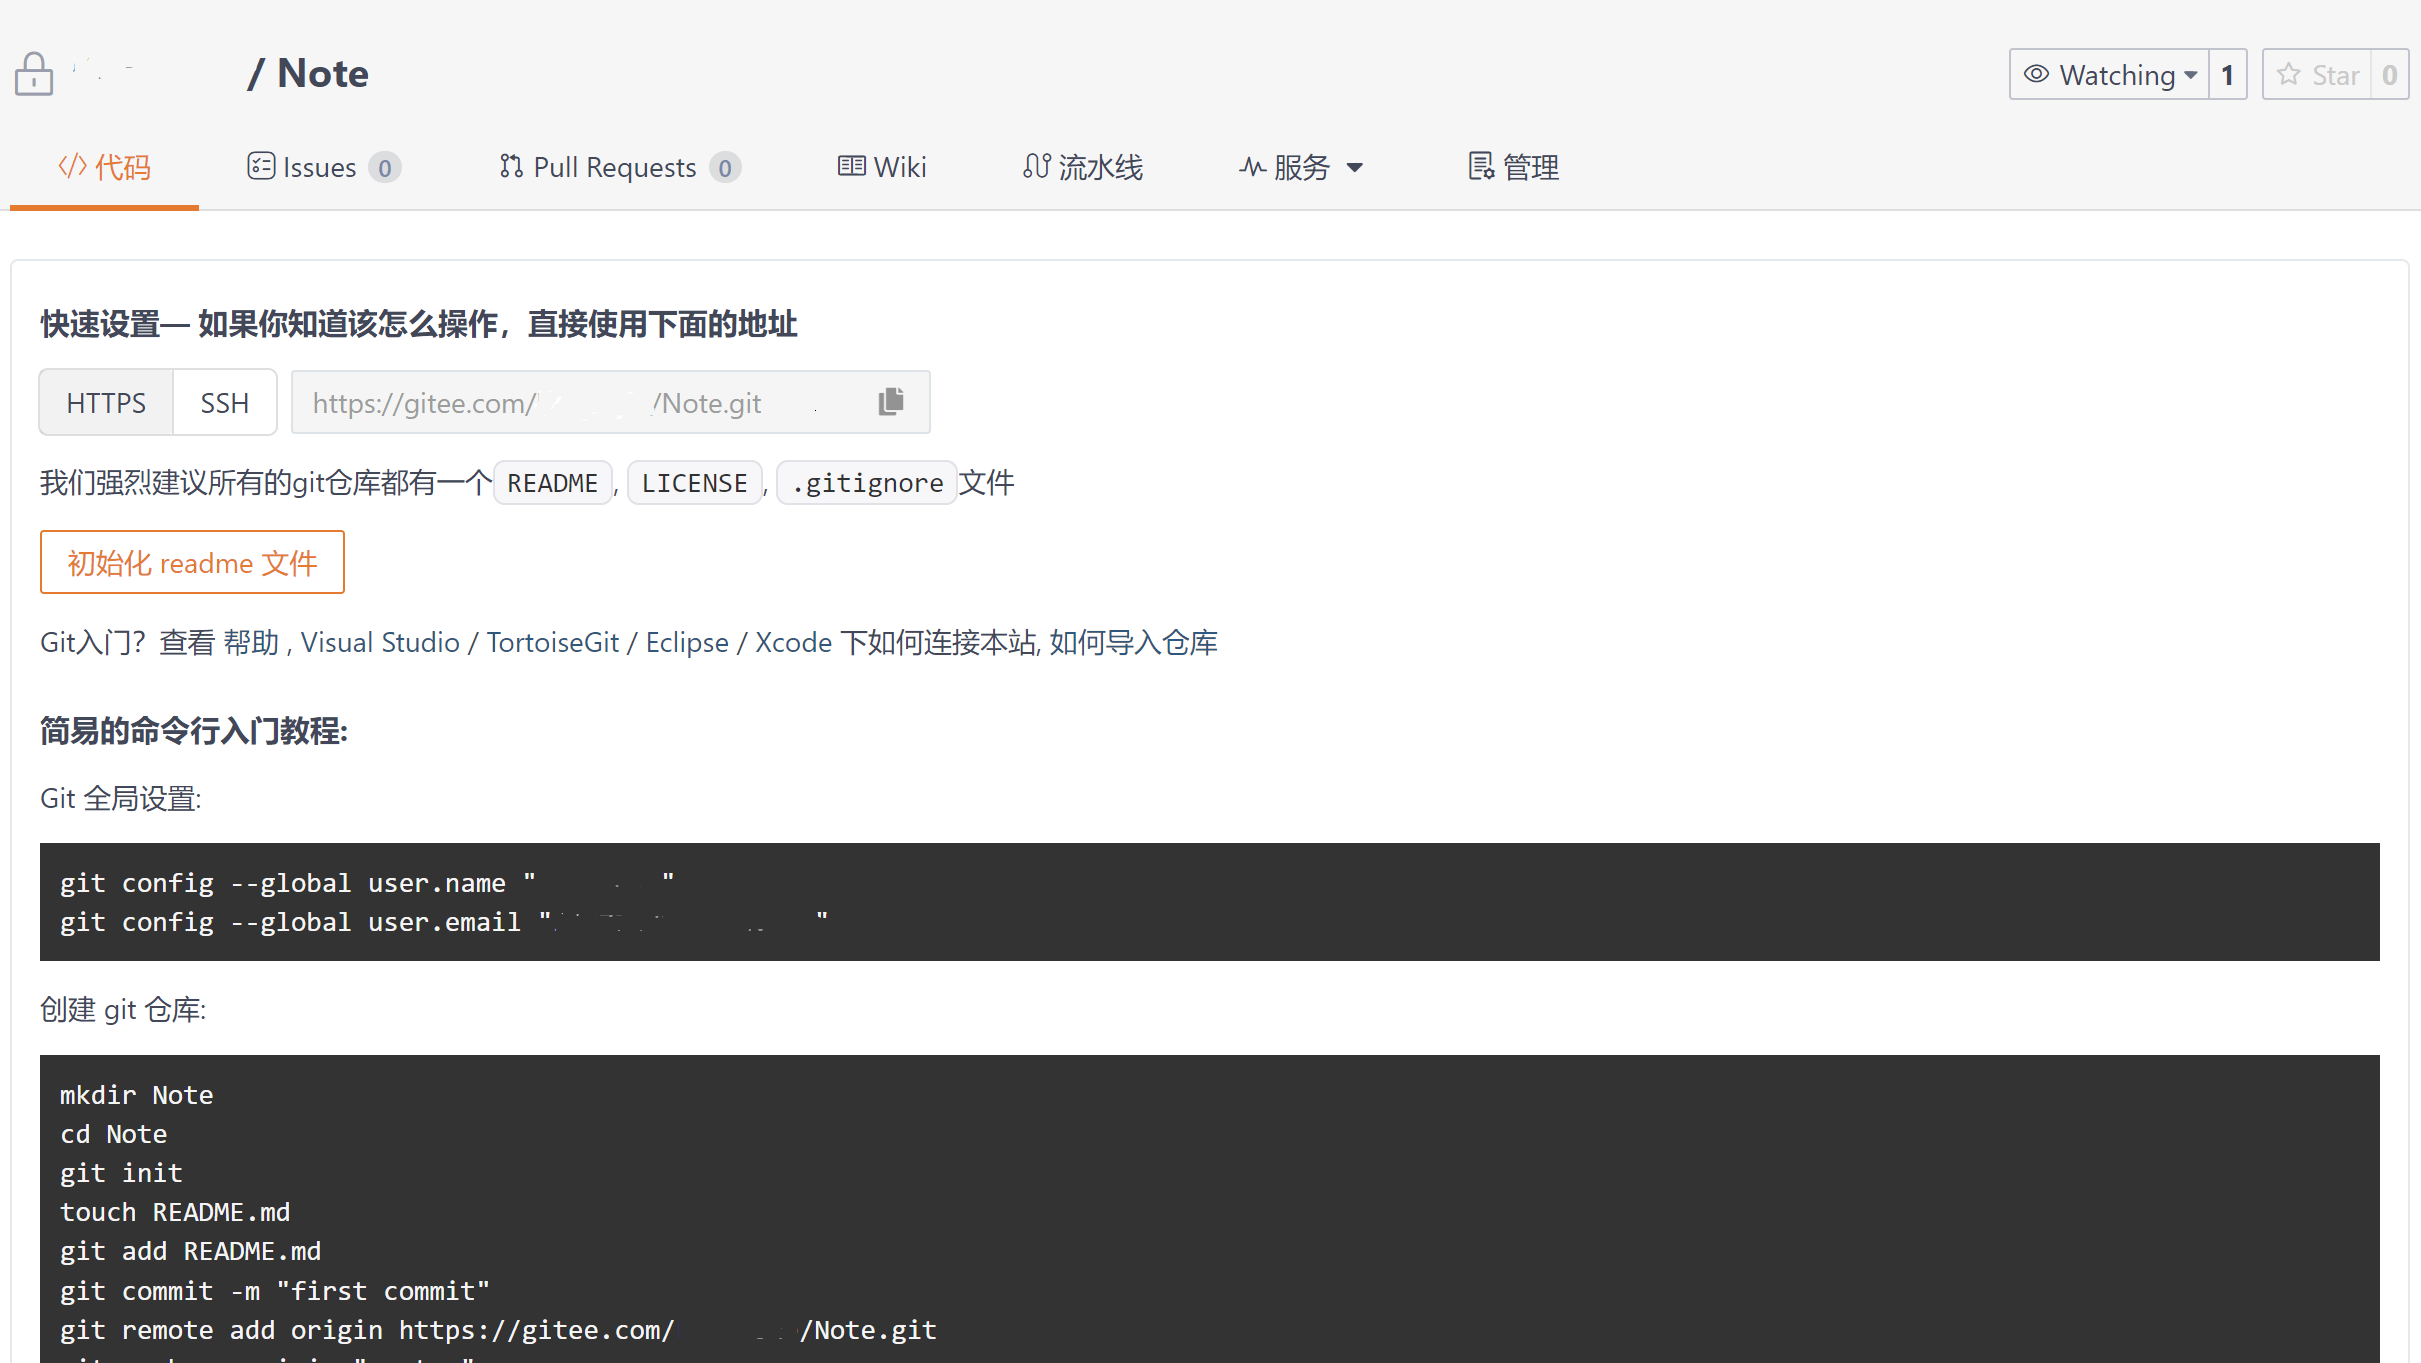
Clone Git仓库
1 | cd 用于vault仓库的目录 |
如果提示需要账号密码,按照提示输入。
Obsidian创建vault仓库
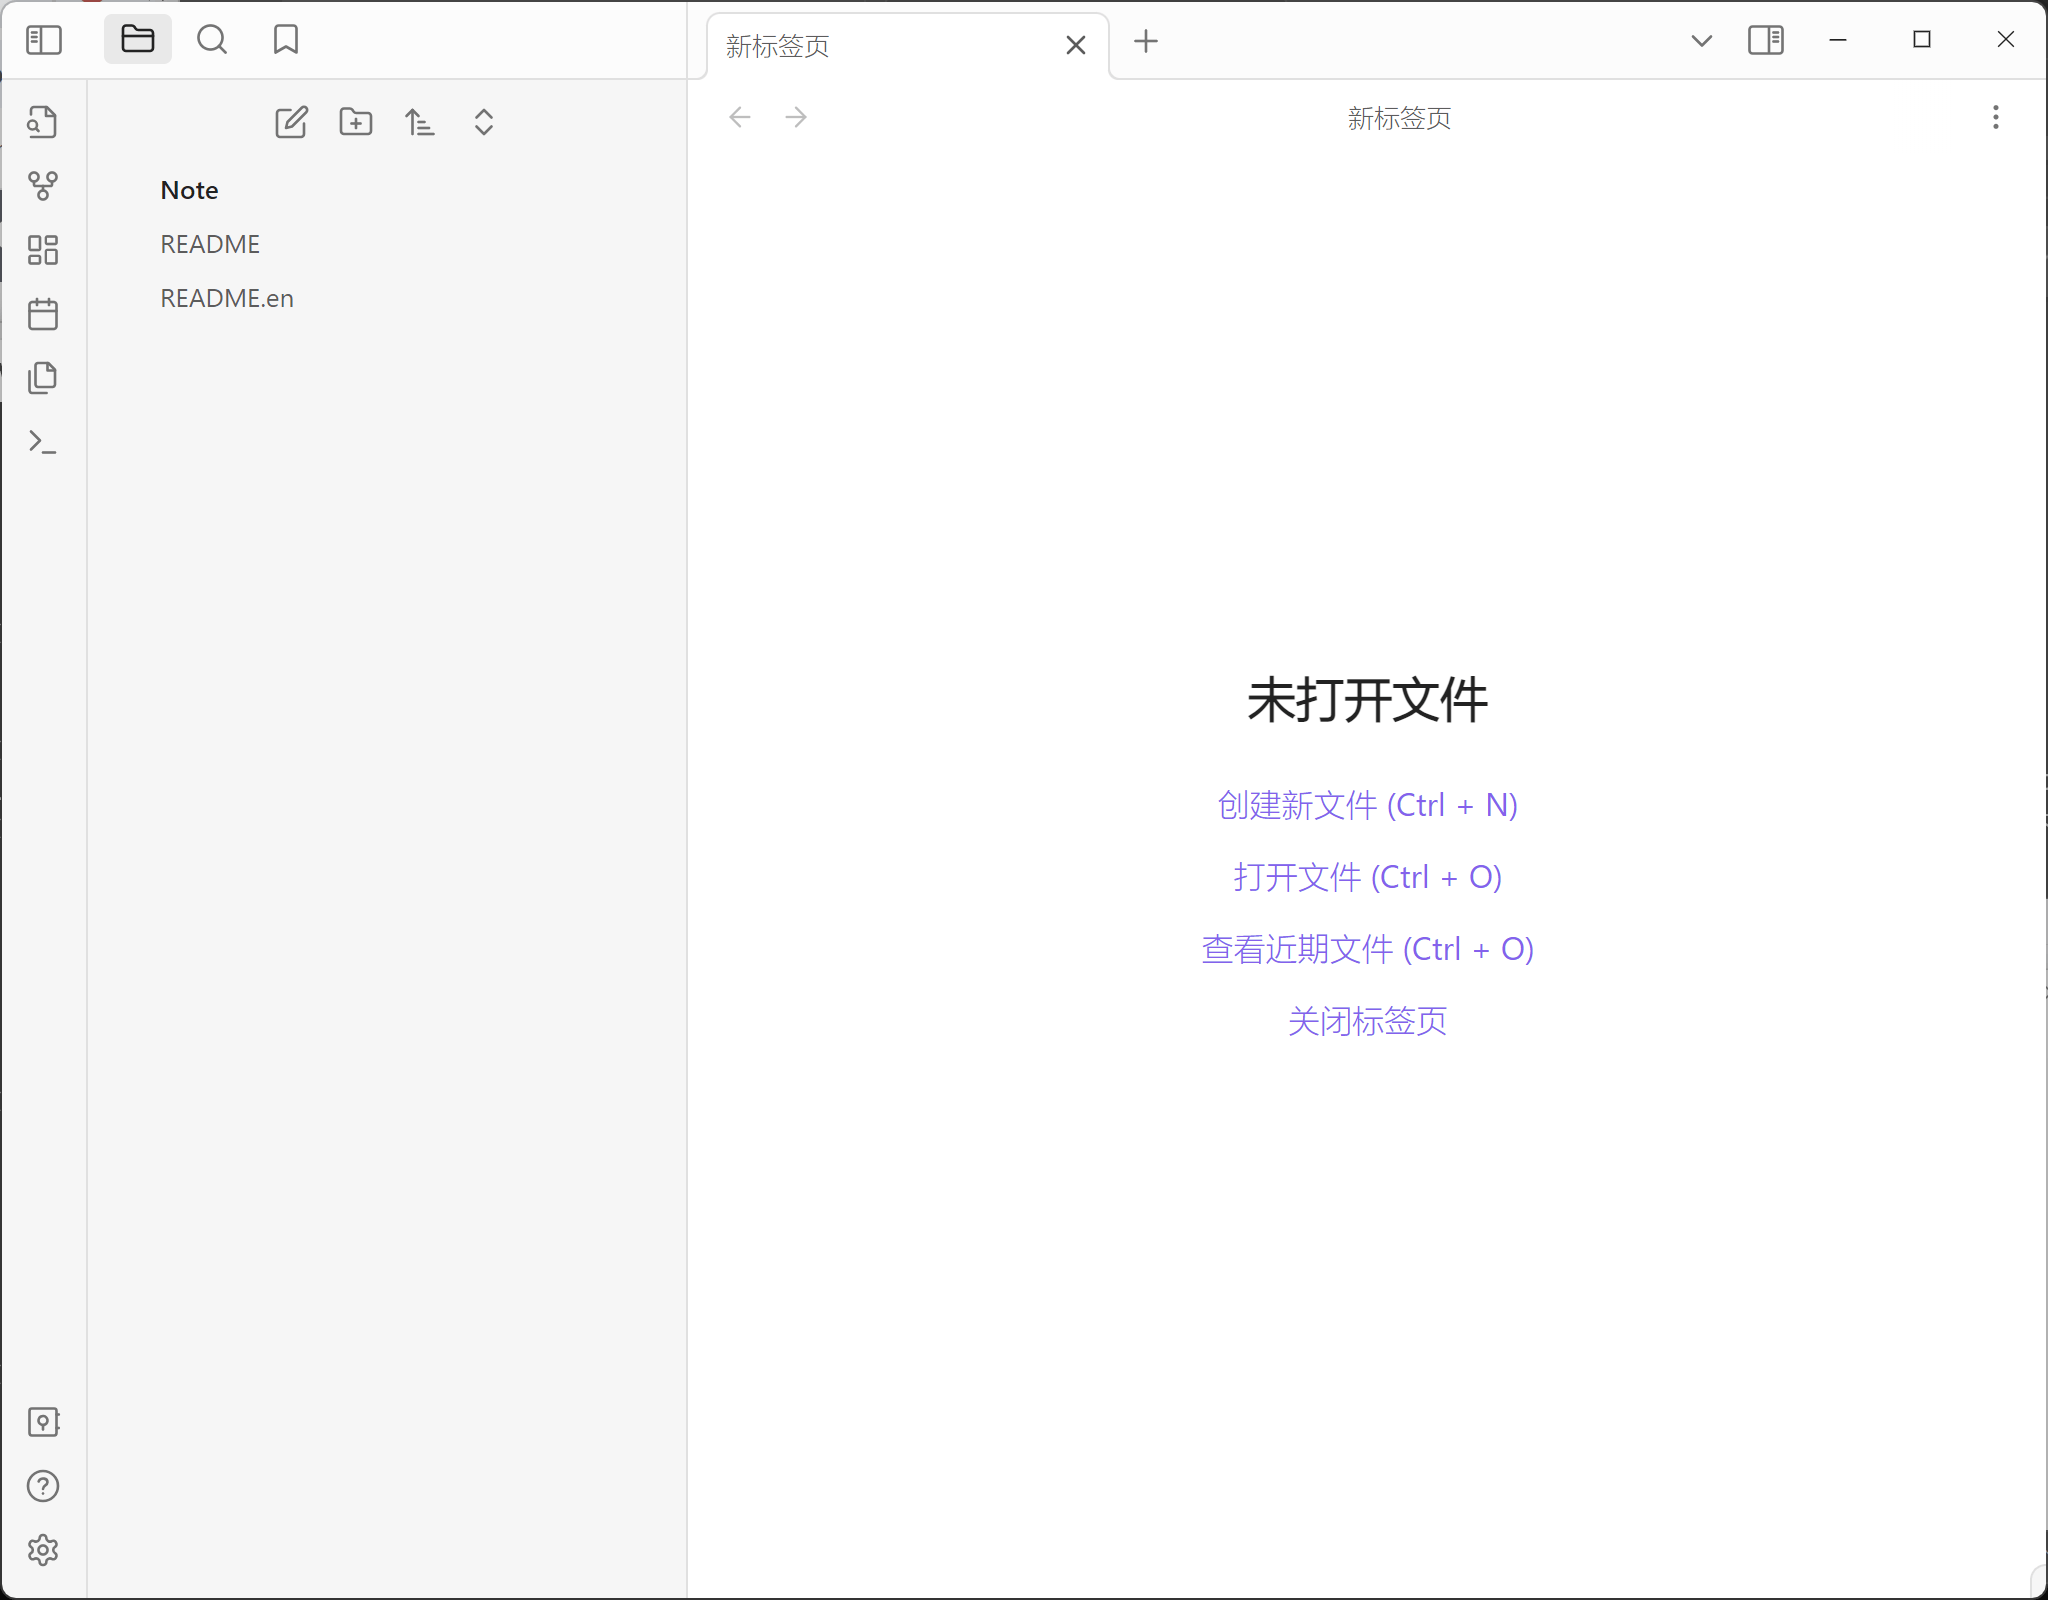
选择打开本地仓库并选择clone的Git仓库文件夹
效果如下:
Obsidian为当前仓库安装Git插件
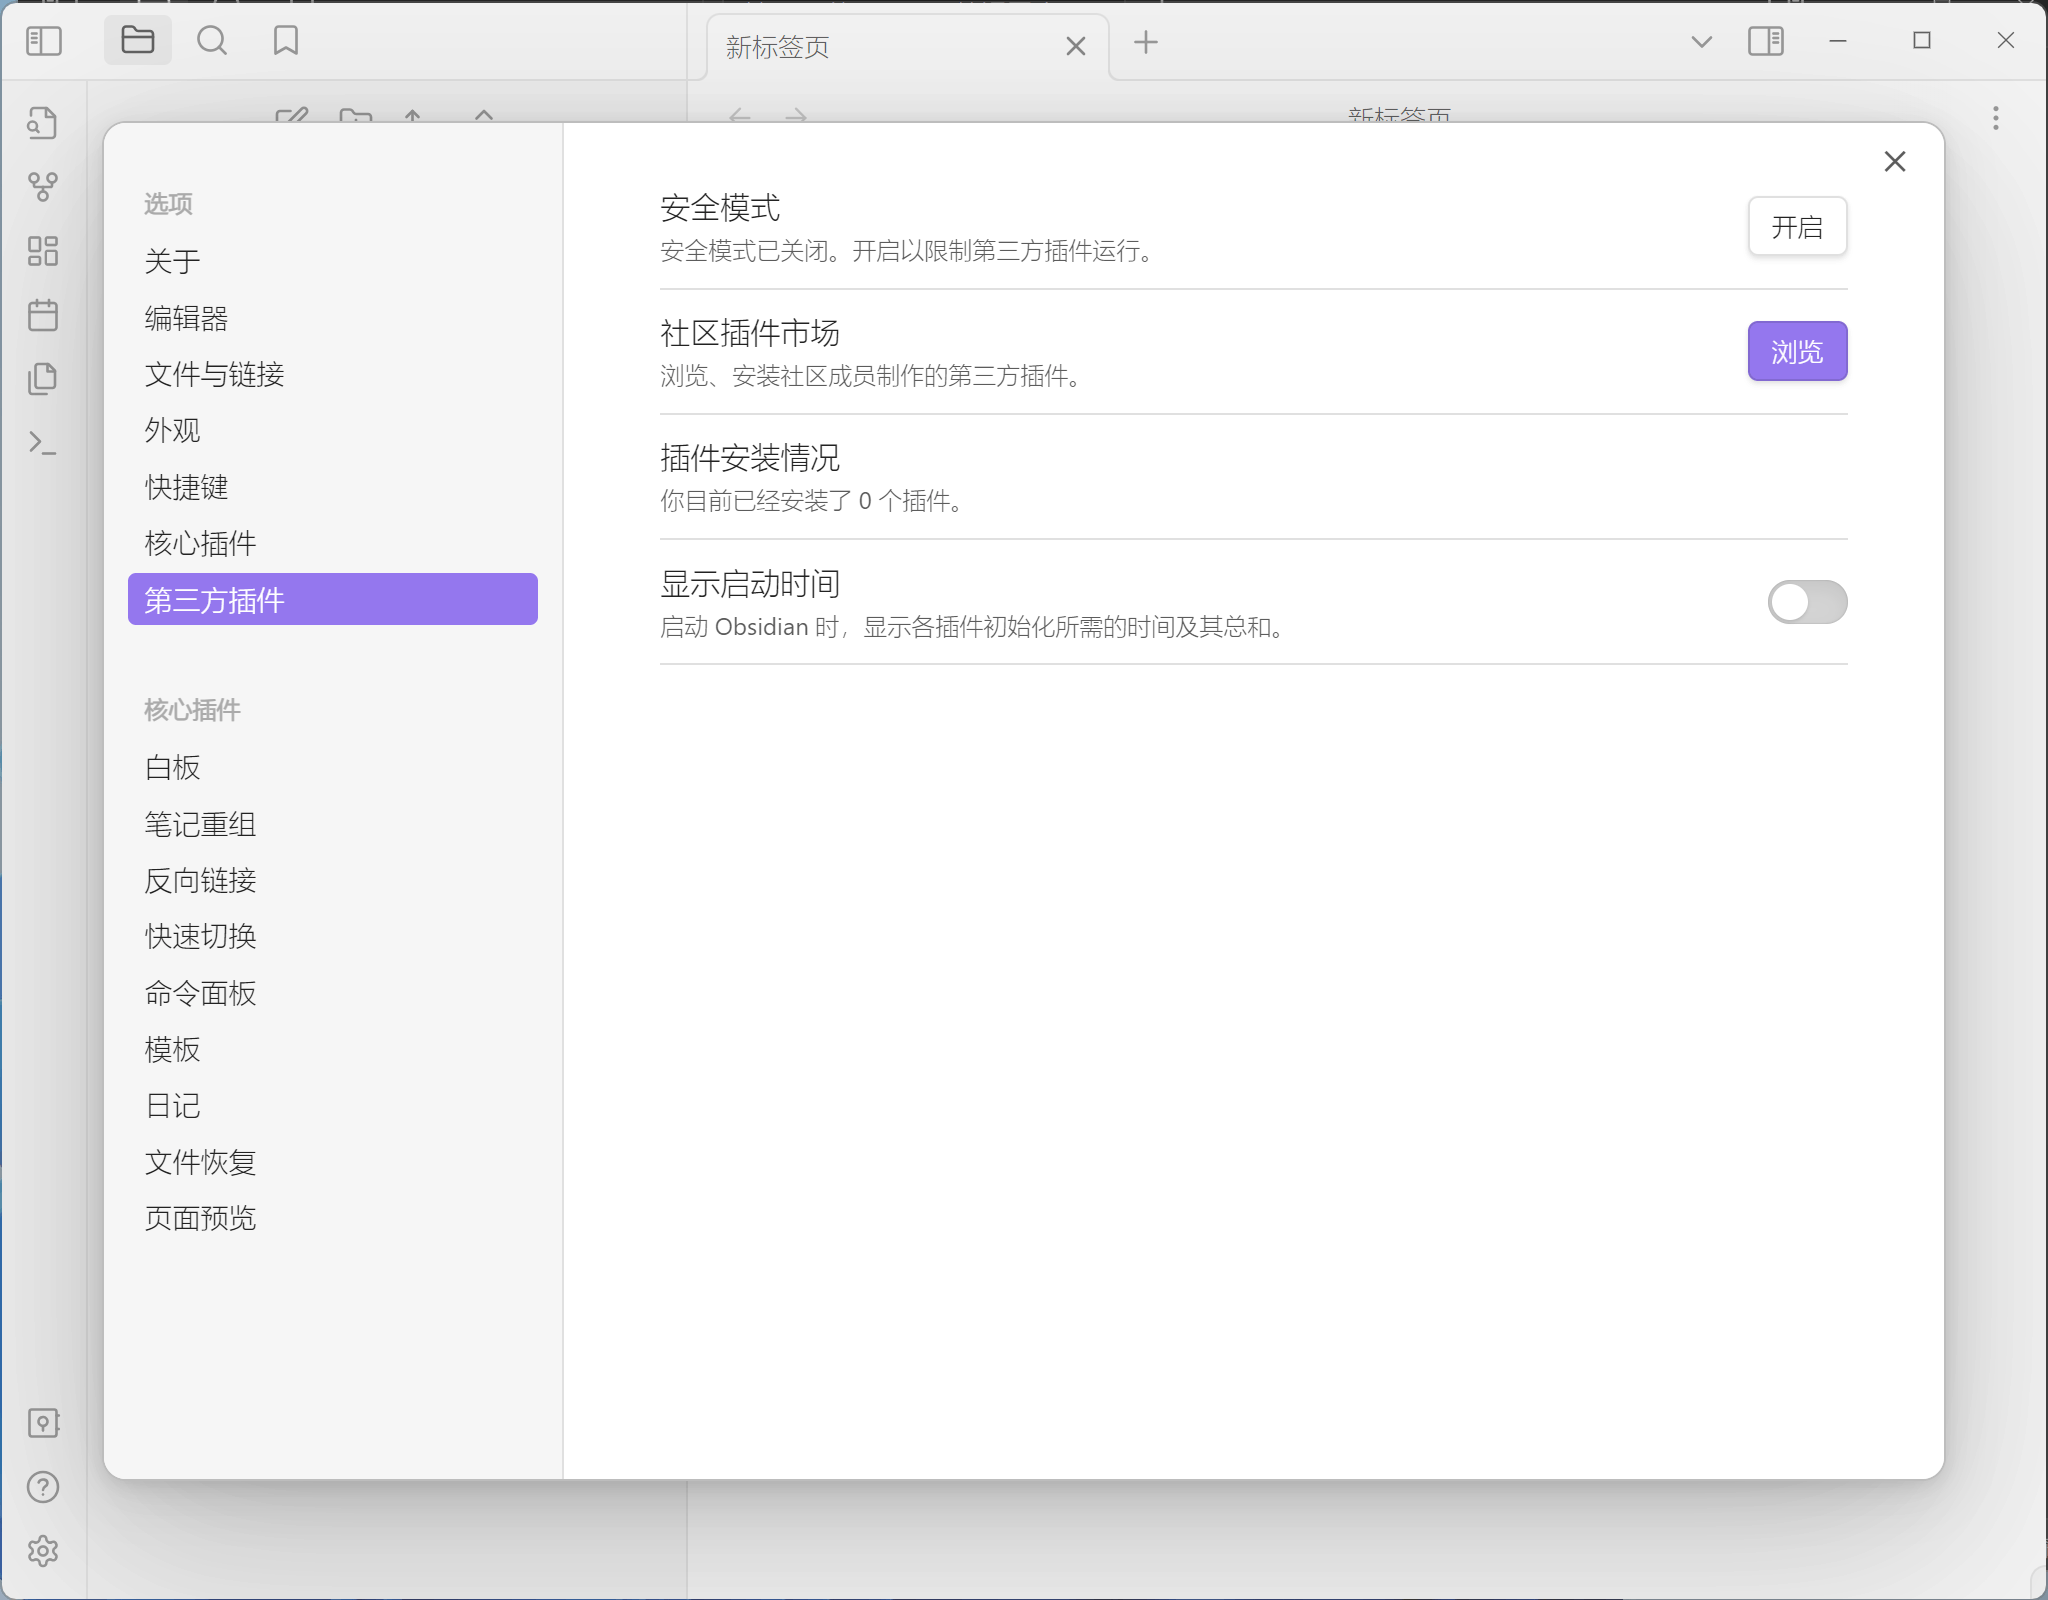
设置->选项->第三方插件->关闭安全模式-浏览插件市场
注:因为Github网络问题,可能出现无法加载社区插件的提示,推荐安装FastGithub进行加速,下载完成后解压,点击FastGithub.UI.exe运行。
FastGithub下载地址:https://cloud.tsinghua.edu.cn/d/df482a15afb64dfeaff8/
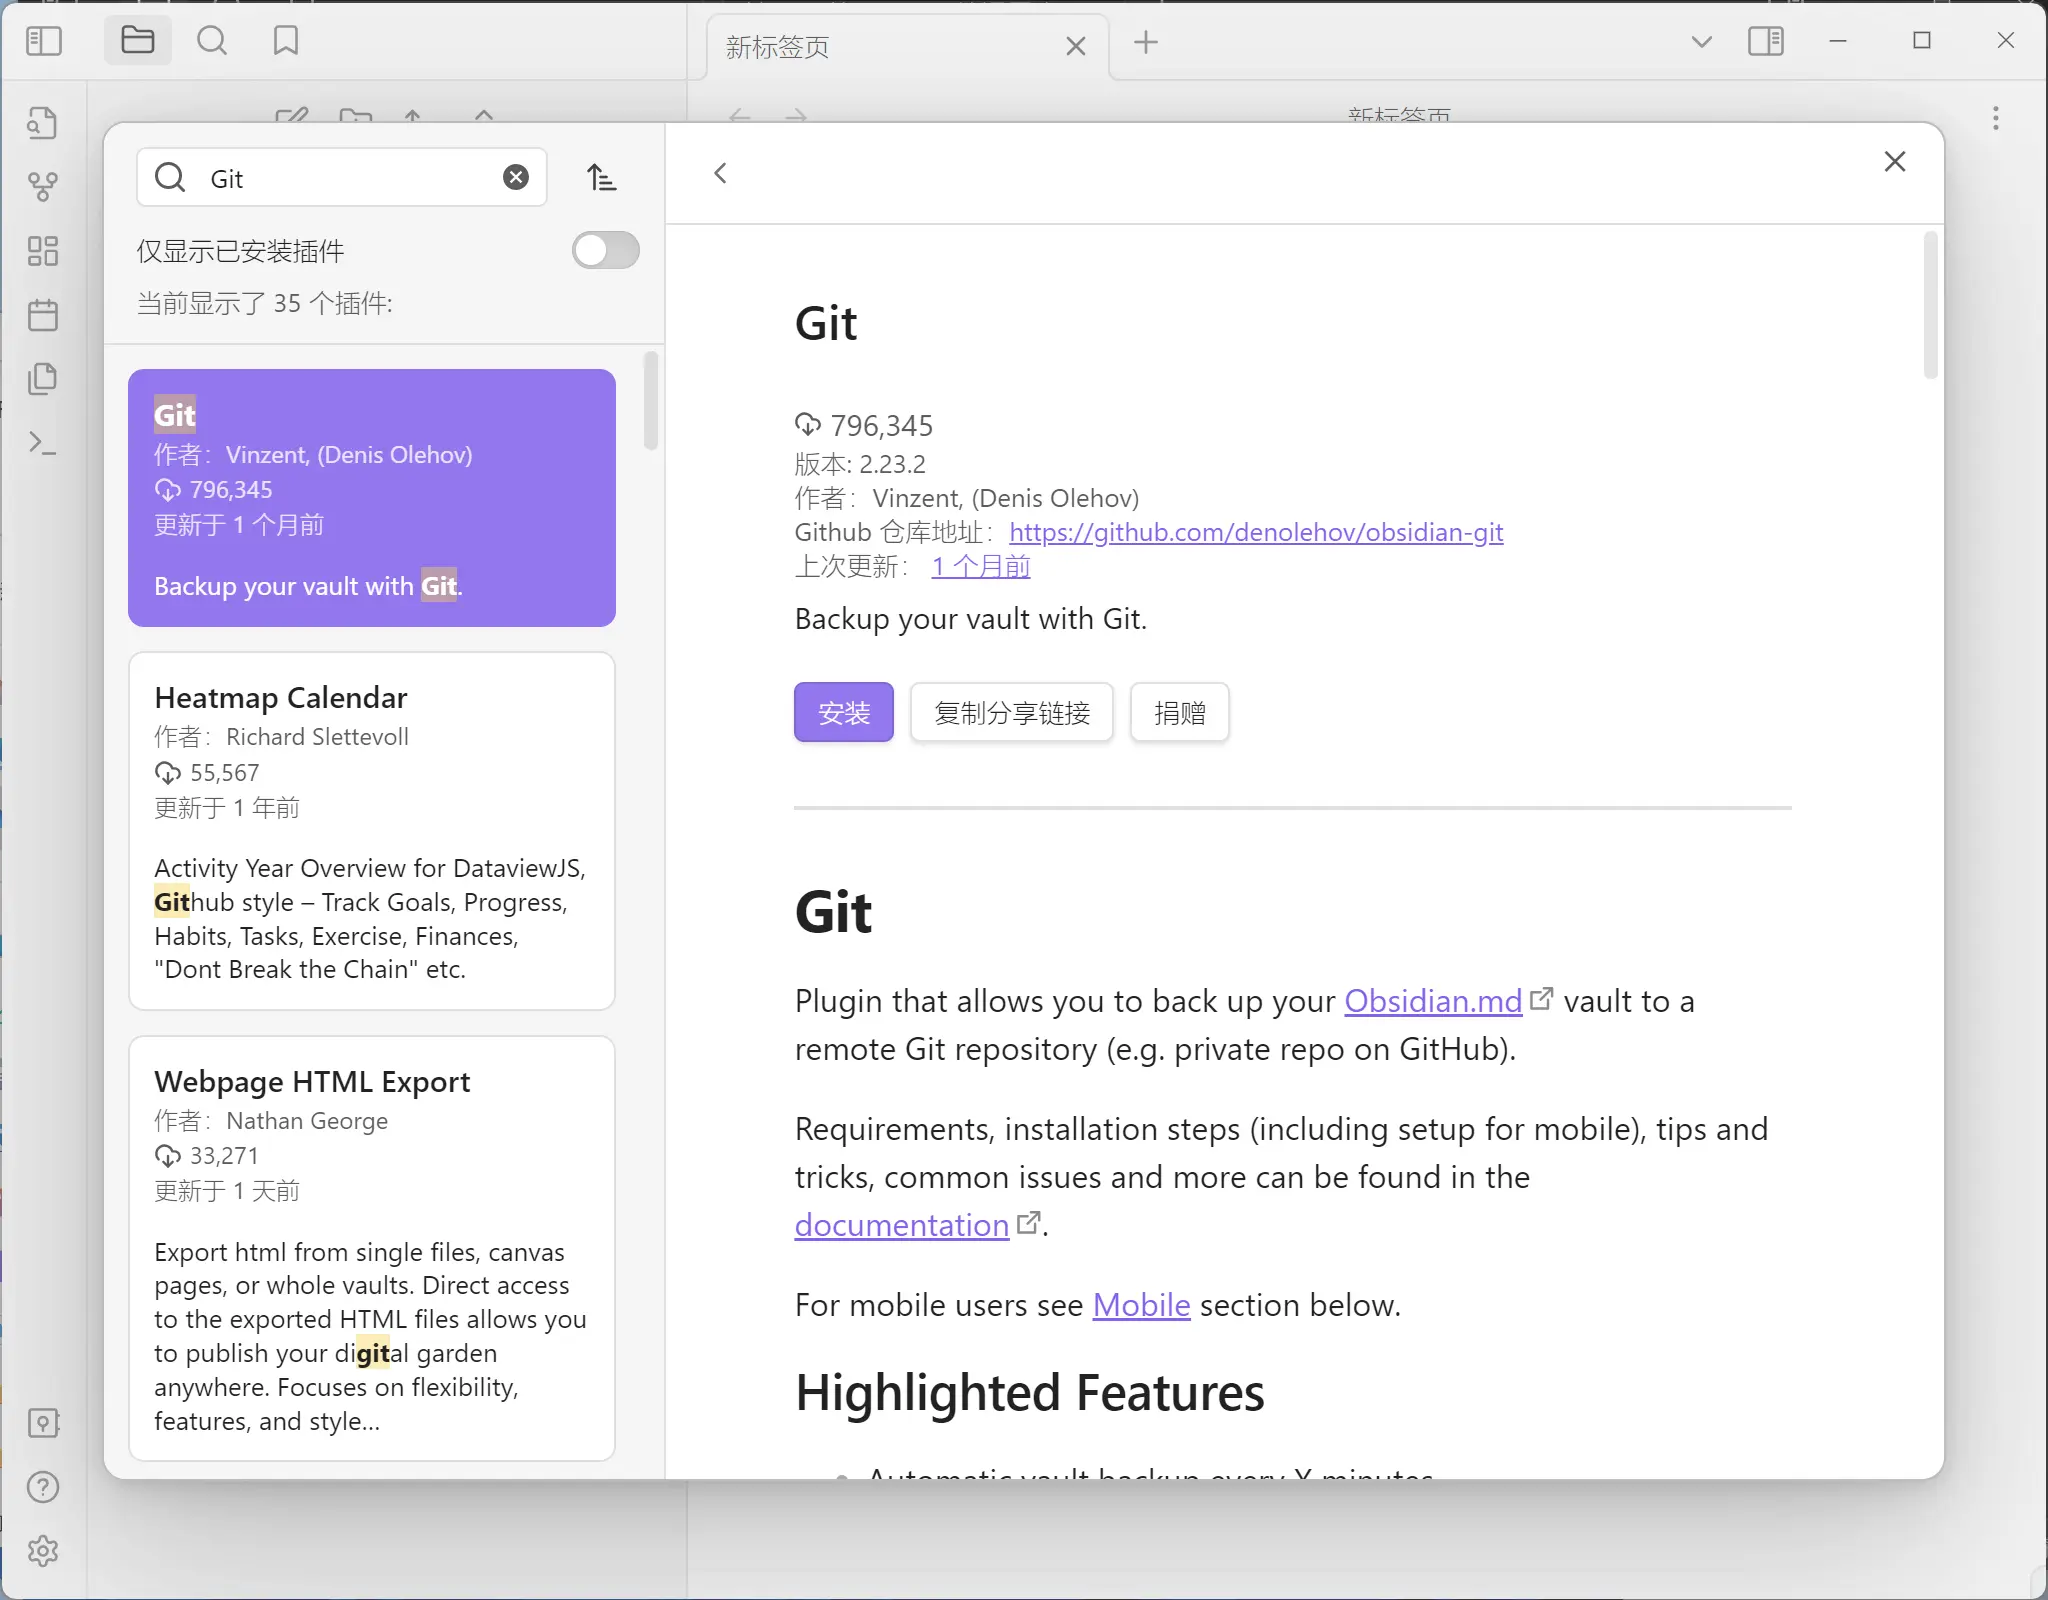
搜索并安装启用Git
配置Git插件
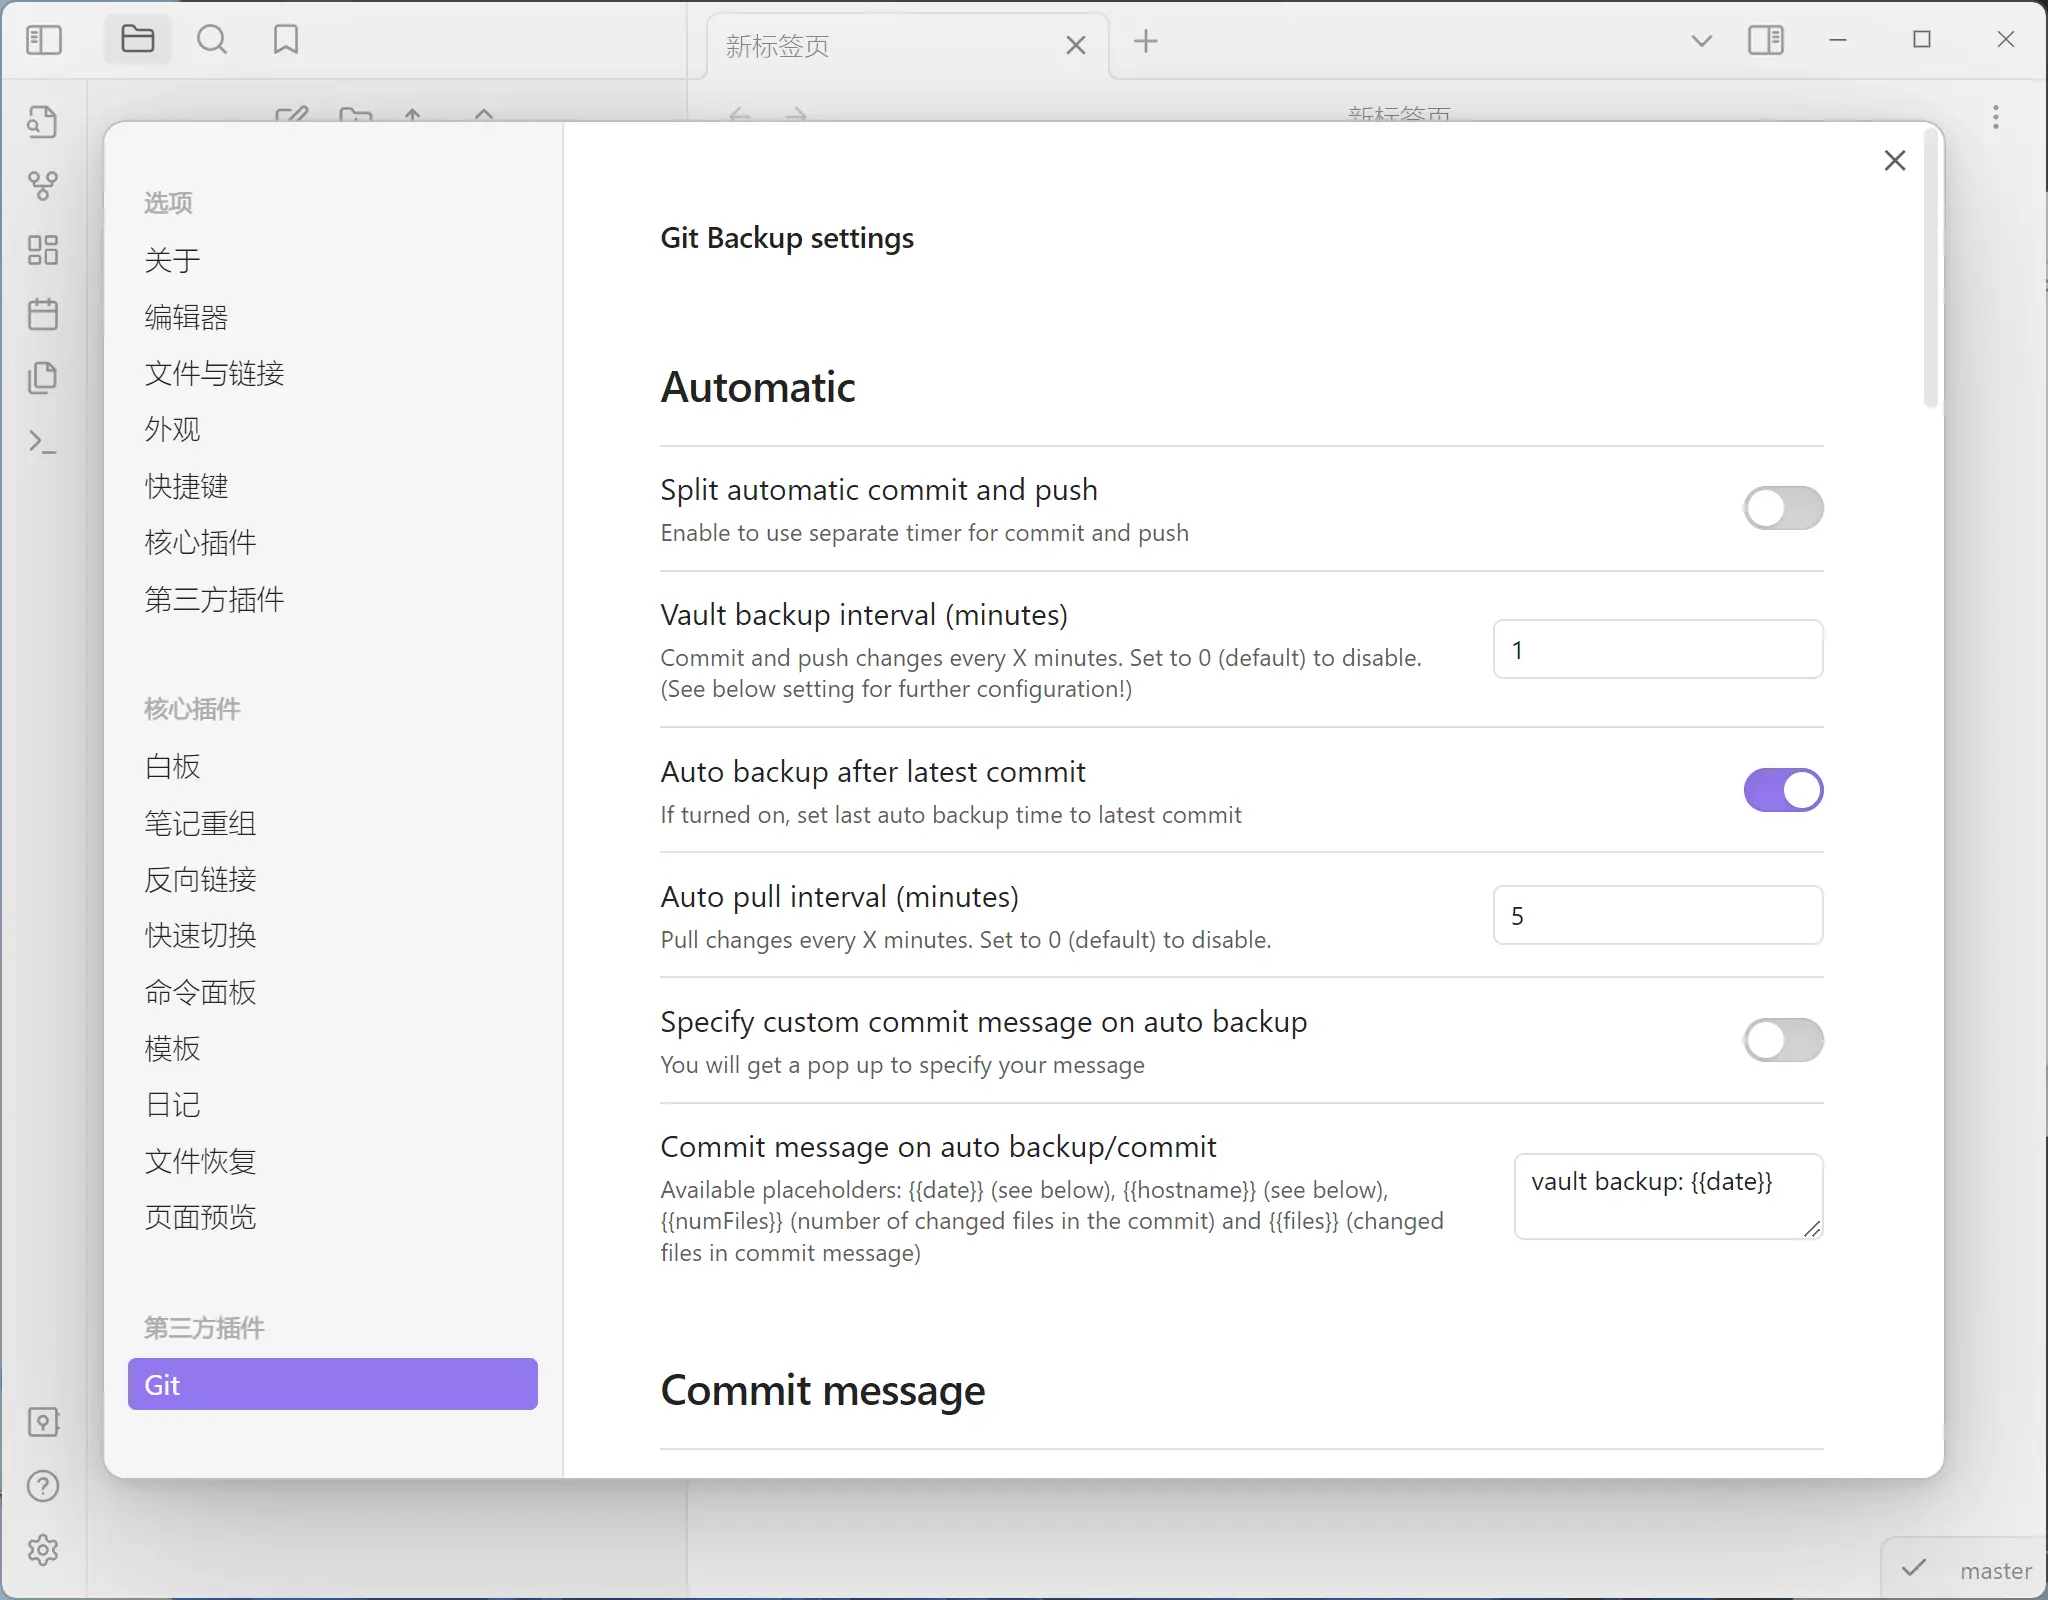
1 | Automatic : |
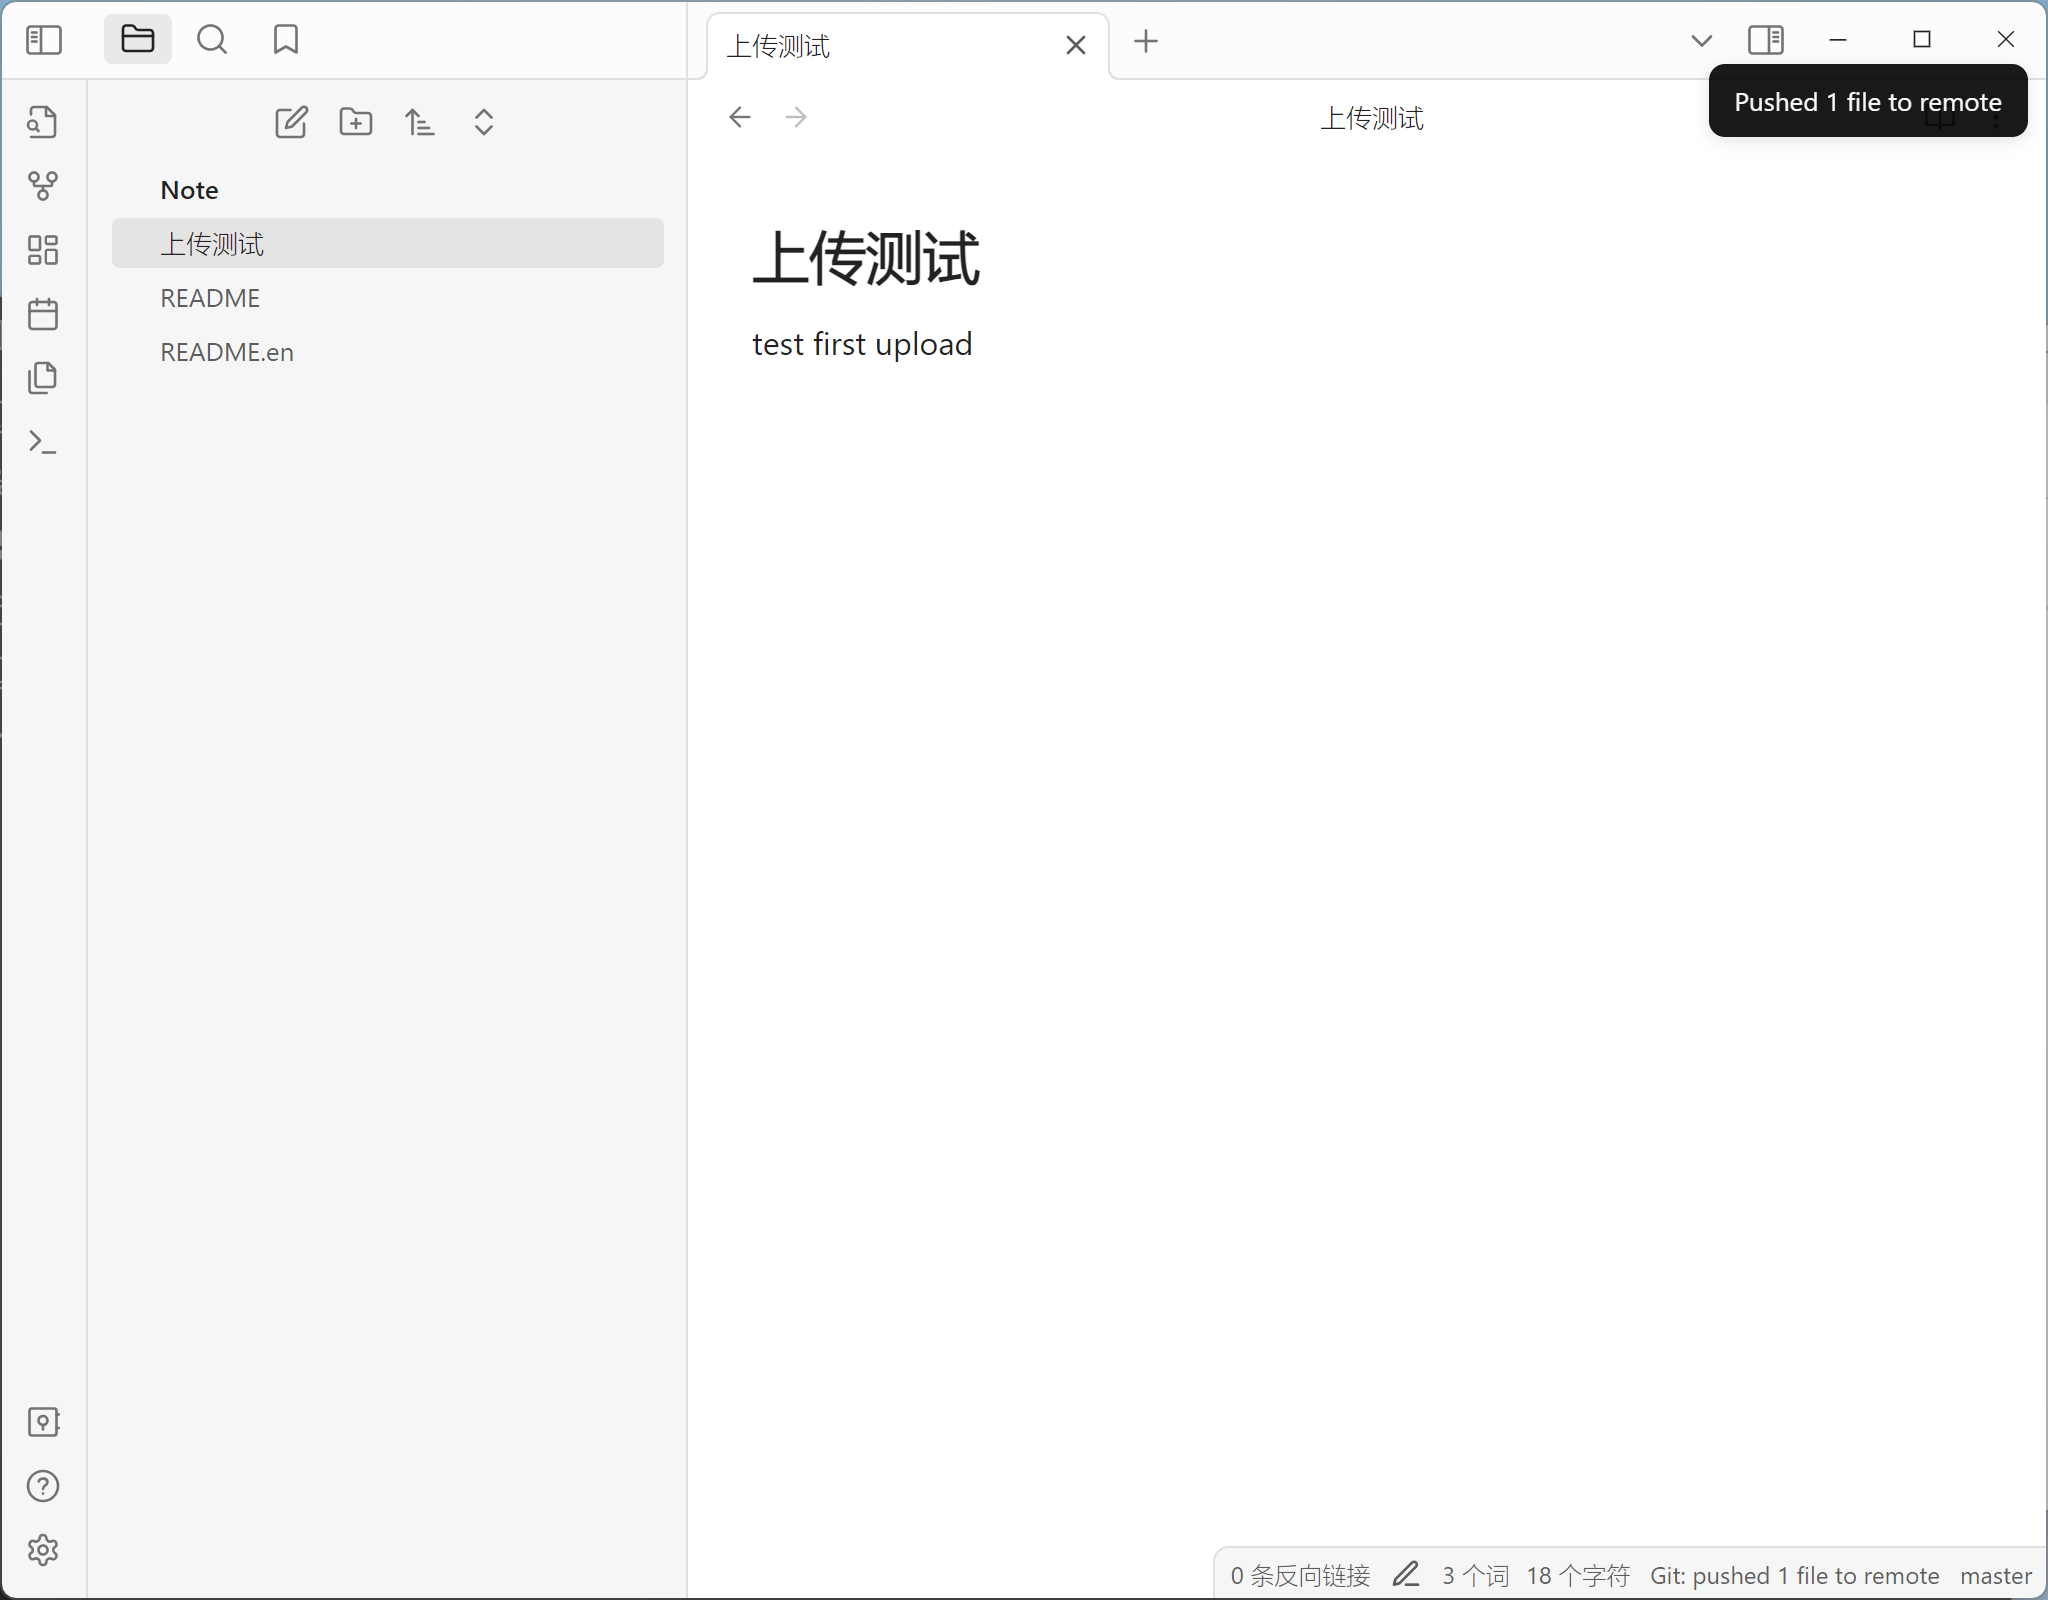
效果查看
新建笔记,预计30秒左右,Obsidian自动提交文件到Gitee仓库中
Mobile
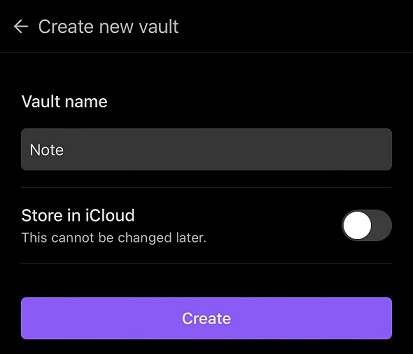
创建Obsidian仓库 (Create new vault)
iphone不要开启 Store in iCloud
安装Git插件
设置->选项->第三方插件->关闭安全模式-浏览插件市场
安装方式与Windows端相同,如果出现插件市场未找到相关插件的问题,可以将刚刚Windows端的vault仓库中的/.obsidian/plugins文件夹复制到手机端的vault仓库中(.obsidian也需要)
启用Git插件
提示先忽略

配置Git插件
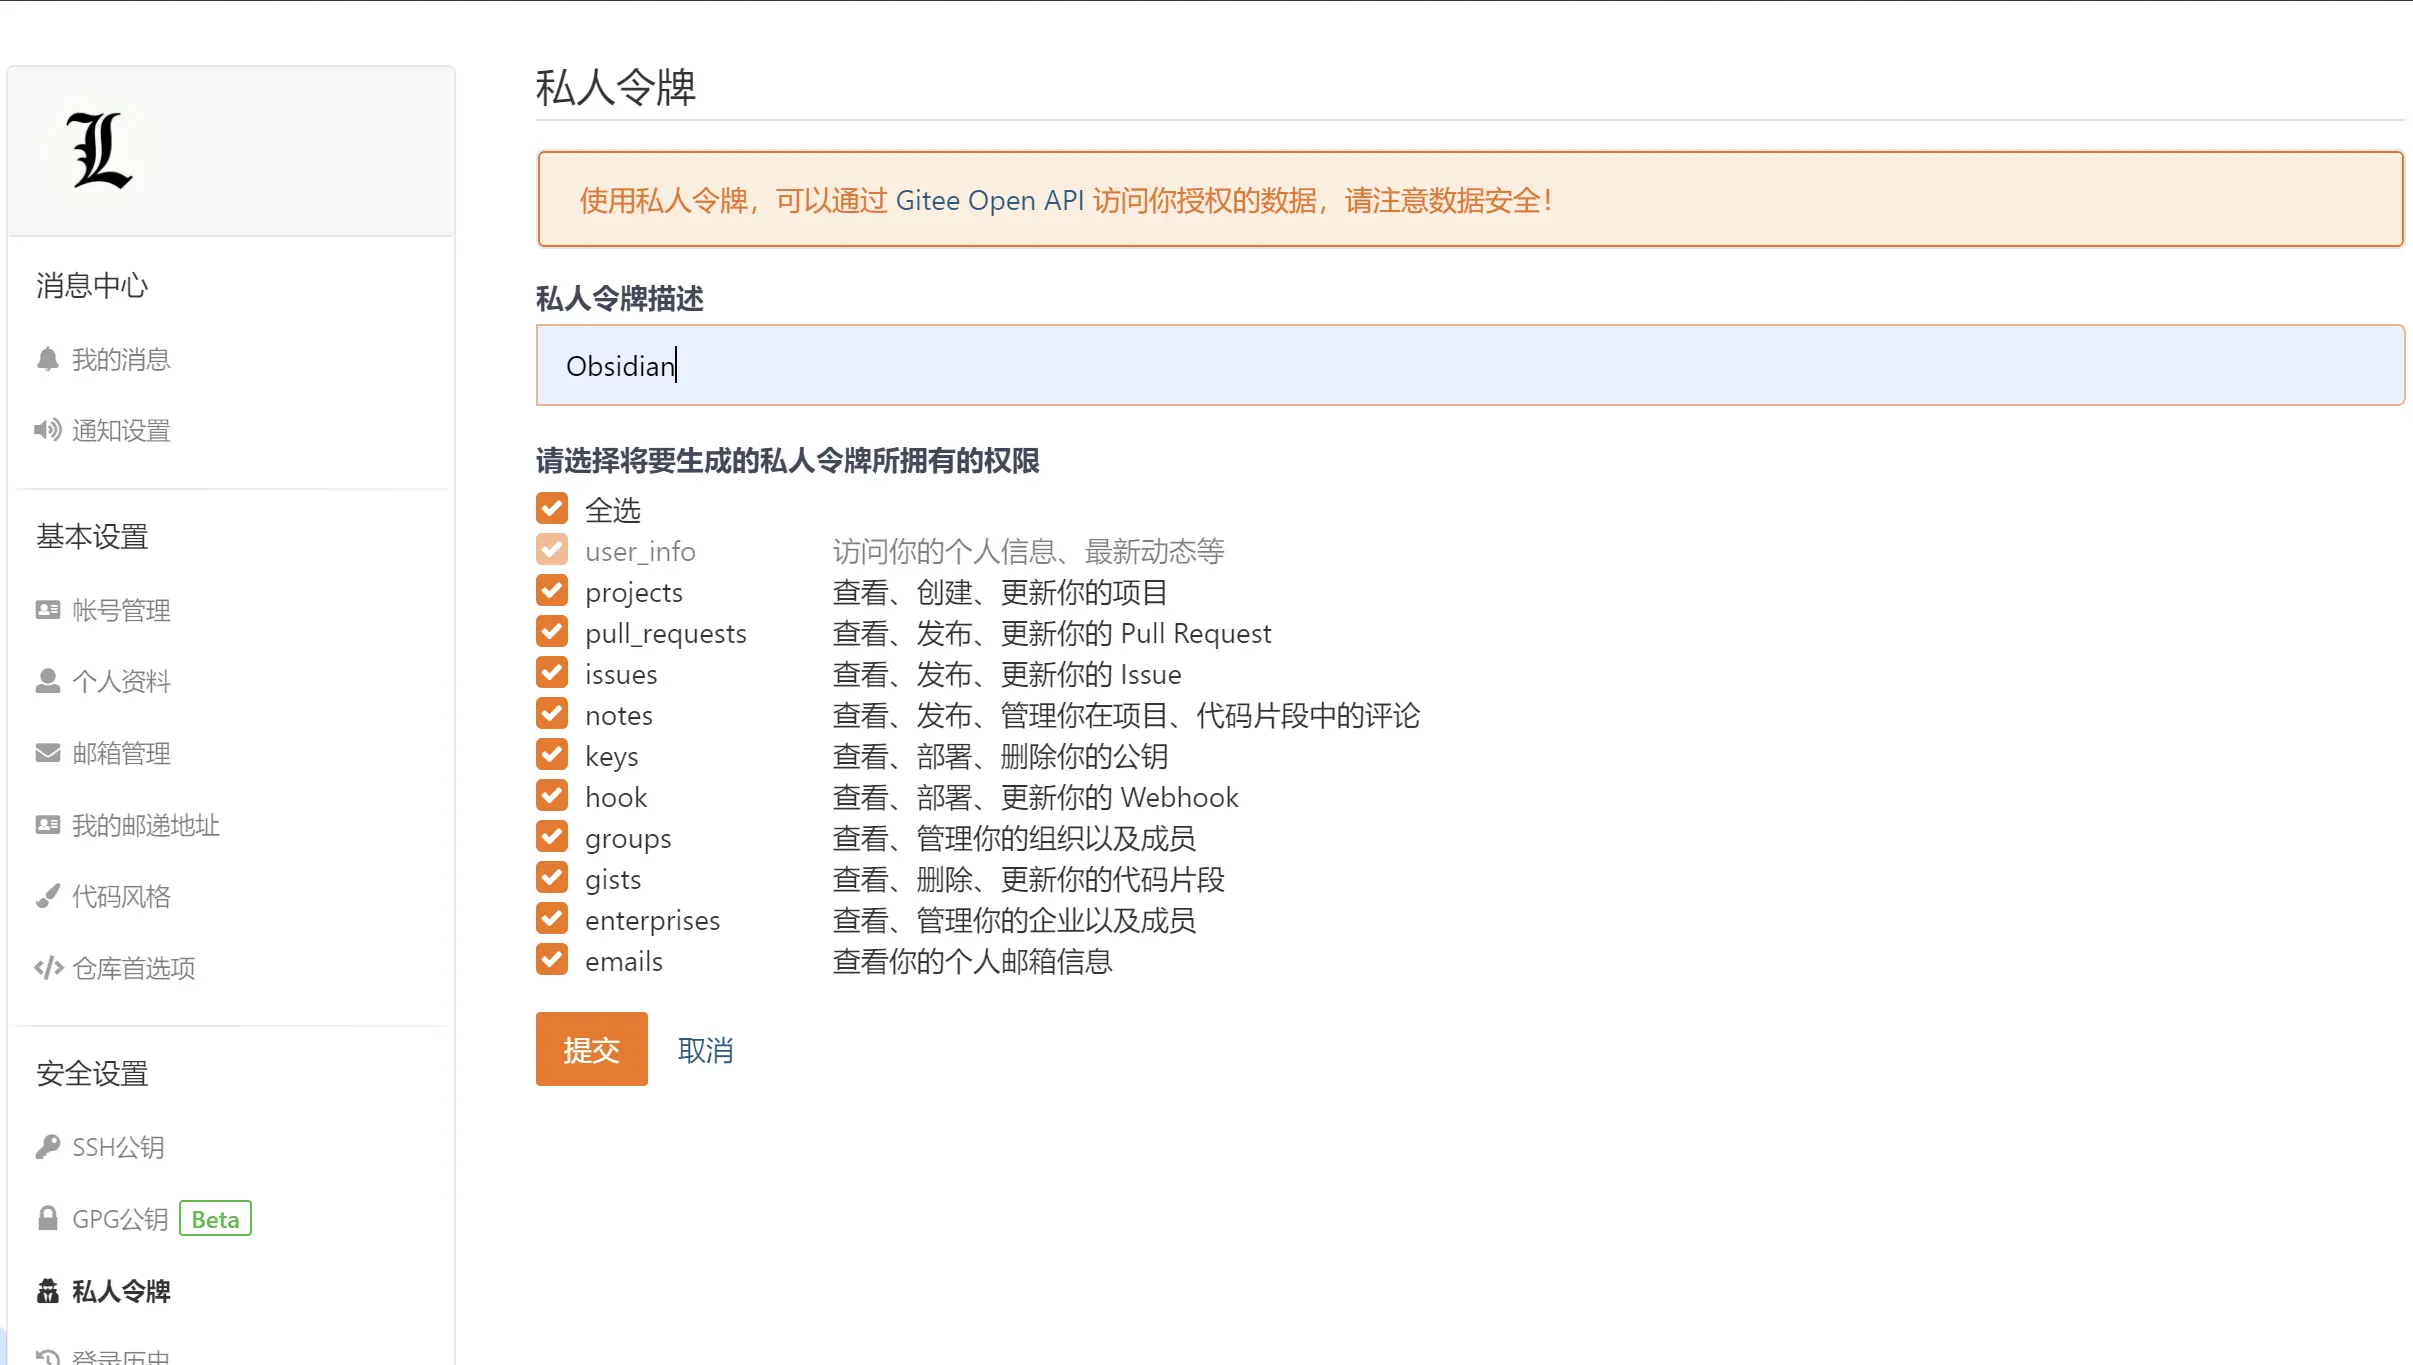
如何获取Gitee Personal access token?
头像->设置->安全设置->私人密钥->生成新令牌->提交
设置Git插件
设置->第三方插件->Git
1 | Authentication/Commit Author |
拉取仓库到本地
关闭设置,打开命令面板(命令面板在右下角)

选择“Git: Clone existing remote repo”
输入Gitee repo URL
选择Vault Root
提示repo是否包含.obsidian文件夹
选择YES,因为刚刚在电脑端Push到仓库中
选择DELETE ALL YOUR LOCAL CONFIG AND PLUGINS
选择空行,拉取仓库中的全部内容
配置Git提交的username和email
1 | Authentication/Commit Author |
完成
本博客所有文章除特别声明外,均采用 CC BY-NC-SA 4.0 许可协议。转载请注明来自 Lee!
评论

